Showing posts with label Slip casting. Show all posts

Sunday, April 13, 2014

100 cups.


This is what 100 cups looks like. Processing a few boxes of my alphabet cups for the store. I had to inventory them to see what letters I might be short on, check for any 'seconds', and put them in boxes so they are easy to find (a-z). They are all electric fired to ∆6 with iron oxide sprayed onto the exterior, the letter is wiped with a sponge, and then the liner glaze is poured in and the lip is dipped. 


They are all slip cast from recycled clay scraps. I use 7 molds so they range in size but generally hold 4 oz. Great for all kinds of things but mainly fun. They sell for $12 each.
I'm off to the studio on a beautiful Sunday morning! Wife does not go into work until 11am and I am not prepared for a class I am giving tomorrow. 

Thursday, April 10, 2014

700 ml. sealable ceramic bottle

I finally have a sealable bottle! Ha! This project has taken so many hours of brainstorming and effort. It feels really good to finally have a working prototype. It opens and closes nicely. I have given it to both men and women of several different ages and it seems to perform nicely! It holds 700 ml. and adds to the line of very functional kitchen wares for food storage.


Here is a raw clay piece from the mold before I made the last bit of modification. Turned out the width of the lower neck piece was too wide to accommodate the lid in the closed position. So I may rework the mold a bit. But until then it just needs a small addition to the neck (perfect place for a bit of texture!


I finished the shelving in the tower. It is now stained a dark brown. I need to touch up the walls here and there to get it ready for stocking! We open Easter weekend.


I also got out a set of plates yesterday and the results were stunning! Again, this project took soooo many hours but the results were worth it. I will be doing these with the rim in several different colors, blue, green, the turquoise pictured, and maybe grey.


Close-up. 
I love the speckling from the iron oxide! Large plate weighs in at 695 grams which is comparable to a Macy's plate I purchased many years ago. I still need to make a small modification to the little plate.


Friday, April 4, 2014

Multi part molds


Here is something I have been working on for a few months. These projects take a while to develop and my efforts are always worth it no matter where I end up. I gain new information that guides me along the journey. 
It all started when I saw an article in Pottery Illustrated that showed a potter who was slip casting by making lots of molds into one mold. I won't go into to many details as the process will make your head spin, at least it does mine. Basically I simplified this process by breaking down my mold into 4 parts, three parts mold one part hand built......oh yeah, and the handle which makes 5 pieces. 
The basic idea is you can paint colored slip onto the plaster surface than assemble the mold, pour in white stoneware slip, and viola! Out comes a piece with the colored slip inlaid into the the clay body. 
In my design I was inspired by seeds or nuts.

Here is the plaster mold with colored slips painted on.


Mold is assembled.


After the slip has formed the shell I remove the cup from the mold and start with hand building.


I wanted a hand built lip for the cup so they would not all be the same size. Some could have texture, some could be plain, some could be taller than others. The cup is a very personal thing.
After the cup has been built and bisqued I rub iron oxide into the crevices and use my matte bone glaze and fire to ∆6, that's about 2232-2269 f.


Here is the finished cup. I thought it would look nice on my kitchen table amongst the current mess that lies there this morning ( we do try to keep a clean house but with two young boys....)
So I'm extremely pleased with the results! Fun cup to use as well. I only have three made so far but I am ramping up production and they will be available locally soon!
Here is the next stage. A pitcher built in the same process. I learned a few things making the coffee cup and have applied them to the pitcher. The lip and pour spout is very time consuming to make but worth the efforts as It really sets the piece off. I should have a finished pitcher in a couple of weeks.


Still a little clean up to go but it's almost ready for the kiln.

I also got out my first cheese mold. Next week it comes out of the kiln and gets a clear glaze. It's coming along nicely.


Wednesday, March 26, 2014

Mold making for cheeses

Yesterday I made a cheese mold, yes, a mold for a mold that makes milk mold. A cheese mold. I thought I might share with you how I made it. The type of cheese mold I was making is a basket mold that can be set on a press for making Tomme style cheeses. You will see from the pictures that it has a slight taper. The dots that you see will be guides for me to put the holes in the finished cheese mold once the plaster mold is removed from the cast piece. 
First things first. I threw an original. It is solid and upside down (When the plaster is cast the clay that is touching the throwing bat on the wheel will be the opening). Allowing for final shrinkage the piece measures 8 1/2" at the top of the mold and 8" at the base with a height of about 4". It's finished dimensions should be about 7 1/2" wide at the top and 7" at the base with a height of 3 1/2". I'm working with about 12.5% shrinkage. Divide any wet dimension by 87.5 to get your final dimensions.


Next I needed to divide the piece in two for a two part mold. Now the cast pieces coming out of the mold will not be in two parts. I am only doing this to make it easier to get the finished pieces out of the mold earlier in the process before they start to warp. 


I used an old plastic lid from a defunct container as a divider. This will keep the plaster from running into the second part.


Next I built up a ring of clay around the 1st part and inserted the second part of my mold walls. I use metal roof flashing. It is cheap and flexible. It comes off my molds very easily and clay sticks to it, making for secure mold walls! A blow out when working with 6 or more pounds of plaster is a nightmare to clean up!


Here you can see the mold ready to be poured with plaster. I use a very simple plaster mixing ratio 3:1 that is 3 pounds of plaster to 1 quart of water. This can be broken down to smaller increments like 1.5 pounds and 1 pint or larger quantities like 9 pounds and 3 quarts, super simple.


For this mold I started out by mixing 6 pounds of plaster and once I poured it realized I needed a little more so I mixed up an additional 1.5 pounds and poured it in as well. 
I use hot water when I mix up plaster and an immersion blender or a stick blender. This gives me about 5-8 minutes of working time, which is more than enough time to mix more and add it in before it sets. I can usually remove a piece from the mold after about 15-20 minutes.


Here is the second half being set up for pouring. I put in a key hole on the top and bottom of both sides of the first piece. I usually use a coin for this. Depending on the size of the mold it can be a penny, a dime, a quarter, whatever works! Also, before I pour the second piece of the mold I use mold soap. This is a product I buy. I have tried many other types of soap and find that mold soap is worth the small amount of money and time it takes to track it down.


Finished mold ready for clean up.


Here you can see the key's that I put into the mold. This allows for a nice seating of the two pieces.


On the mold itself I use a metal rib to clean up the joint. This will make it easier to clean each piece coming out of the mold. Remember, the better you make the mold the better the pieces come out and the less time you have to spend working each new piece.


Here is the final mold. I use a sure form tool to clean all the edges of the mold before it starts to get hard, usually within the hour. Once it set's to its final hardness it is tougher to clean up. As you can see from the mold I try to make the mold with about 1 1/2" of plaster around the mold to get even walls when casting. One other thing to note is that I do not force dry the plaster! It will calcine the plaster and make it a worthless mold. Let it air dry in a warm room for about a week (at least here in the Northwest). At that point you can use it. I will cast these next week with porcelain and show you a finished product. 
Now that the goats are freshening I will be making some awesome Tomme style cheese this spring!


Tuesday, March 11, 2014

Sunny day in the studio

It was a day of glazing and slip making in the studio. I always sort of dread doing it but once I get into it I enjoy it. Besides, who doesn't like unloading a batch of glazed ware! I had a bunch of alphabet cups to glaze, some plate sets, and a few crocks to glaze.


I spray all my wares with iron oxide. Sometimes I glaze over the whole thing and sometimes just the inside and lip.

The plates are sprayed with iron oxide and the texture is wiped off leaving it heavier where the texture is recessed. Same with the cups.

Here are the alphabet cups ready for the kiln. They will fire to ∆6 in a computer controlled L&L. 

As you can see the plates are completely glazed while the small bowl has exposed iron oxide which will vitrify at ∆6 and make a nice smooth durable finish all on its own. 

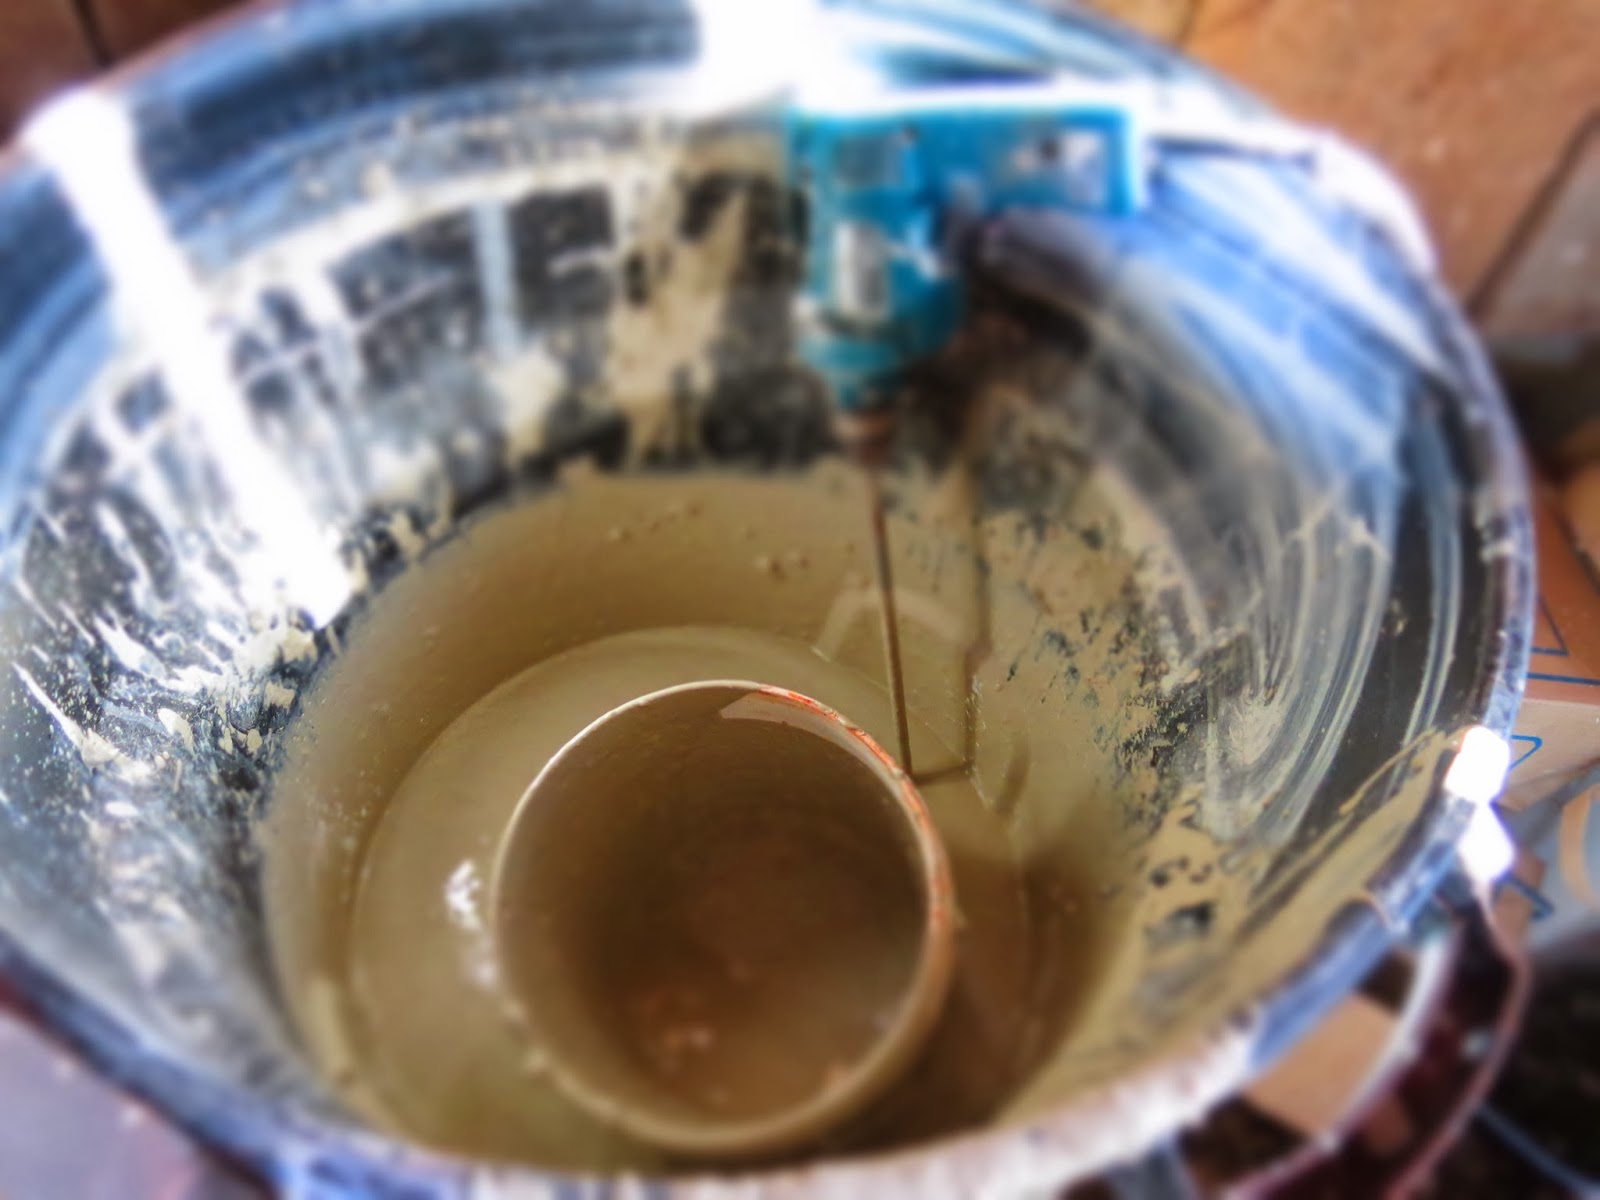
Slip casting is great. It allows me to design pieces and later just go through the motions of making without thinking about it too much. It fits my personality very well. Making slip from recycled clay on the other hand is tedious and back breaking. I mix up 120#'s of clay at a time and add 60#'s of water and a couple of deflocculants, soda ash and sodium silicate. This batch has been sitting for the past week waiting for me to have the time to sieve it. Since the recycled clay is made up of many different clay bodies so there is sometimes grog and sand I want to remove. A Talisman sieve does the trick.

I use a corded drill with a paint stirring attachment to mix my slip.

Here is the talisman sieve. I use an 60 mesh screen. It kind of works like a giant food mill.


Properly deflocculated slip. 

A clean shot of the sieve. They are made in New Zealand and are available a most pottery supply houses. 
It was rough being in the studio today due to it being such a beautifully sunny day out! But we had the doors open and felt the warmth of the sun! Aw spring!

When I got home my boy Noah and one of his friends were out chasing the goats around in the sunshine! It was a good day. Tomorrow we are going off island to get clay in Seattle and other supplies. 


Sunday, March 9, 2014

Sunday, the day of rest.

It's Sunday, the day of rest. Ha, right. Really it's a day to get some house cleaning done, inside if it's rainy and outside if it's dry. I also might mention I have two young "helpers" Noah and Sebastian. Noah is 4.978 years old and Sebastian is 4 months old. Mom will be working today so I will spend my weekend days trying to get things done and being realistic about how much you can get done with two little ones in tow. I have much compassion for the single mom.
The photographer that came by the other day, Adam Nash finished the photo documentary that he did the other day. It was wonderful and scary all at the same time. But I have to say he really showed things as they really are, not very glamorous and messy looking. It seemed like his lens had found every little detail I had forgotten to notice. It gave me a new perspective on the studio.
I thought I might share his post on this somewhat dreary day while I slog through another day with the boys watching them grow up one diaper at a time or one temper tantrum at a time.

http://www.adamnash.us/lopez-potter/


Here is a slip cast 750 ml. bottle I am working on that has a hermetically sealable opening. It is setup to handle an ez-cap. Lets hope it all works when it's finished!

Thursday, March 6, 2014

Clay vessels tied with string


Yesterday I had a visitor in the studio, as I often do. 

This is Mike Kaminskas. Mike has been coming into the studio since last fall. He makes Vessels of Intention. Originally he was making them out of found glass objects and Mason jars. I remember a couple of years ago at our annual Holiday Bazaar my wife bought one and brought it home. It seemed strange to me to wrap a Mason jar and use it to drink out of. I was not attracted to the idea. As with most new things it takes a little time to get accustomed to it and as we have they have found a special place in our home.


When Mike approached me with the idea of making molds and casting the jars I thought well that would be fun! After a few months he has maybe a half dozen molds and has been casting them in porcelain for the electric kiln. His latest batch has all been with high fire porcelain and are destined for the soda kiln! That, I am anxious to see!!!


Here is an Italian pasta jar that has been cast in recycled clay slip and wrapped with sailing line. I love this for coffee. The local barista is no longer flabbergast but it does get comments from the folks in line behind me.

Here is Mike's blog. It is a great read and will give you much more information behind the lore and intention.