Showing posts with label Raw clay. Show all posts

Thursday, May 15, 2014

Burning gas


As I sit here and try to recollect all the things that have transpired over the last couple of days I realize how tired I am. Excited to see the results of our labors but exhausted none the less.
Tuesday in the studio was spent getting the soda kiln ready to fire, mostly wadding the ware and stacking the kiln. 

Most of this pottery has been sitting in boxes waiting for the cost of propane to go down. It is really great to see the work with fresh eyes.


I have had all these ideas of how I wanted to glaze and stack the kiln for months just floating around my head. It is great to get them out and make space for new ones.


Stacking the kiln is a bit of guess work on my part. I know that things in the front tend to get more soda than the things in the back but when it comes to flow and shelve height I am an amateur. Also keeping an even temperature in the kiln is another aspect to consider when stacking. Again, I am a complete amateur. 


I scour through books and the internet looking for information about how to do this better and to get the results I want but sometimes you just need to do it to understand it. 


Pyrometric cones measure heat work, I use 5 cone packs located throughout the kiln to give me a sense of what is going on inside the kiln. I still feel like a blind man.


I am trying a different approach to the top stack of this firing, light in the front and higher in the back. Not sure how it will effect the firing but I am sure I will learn something. 


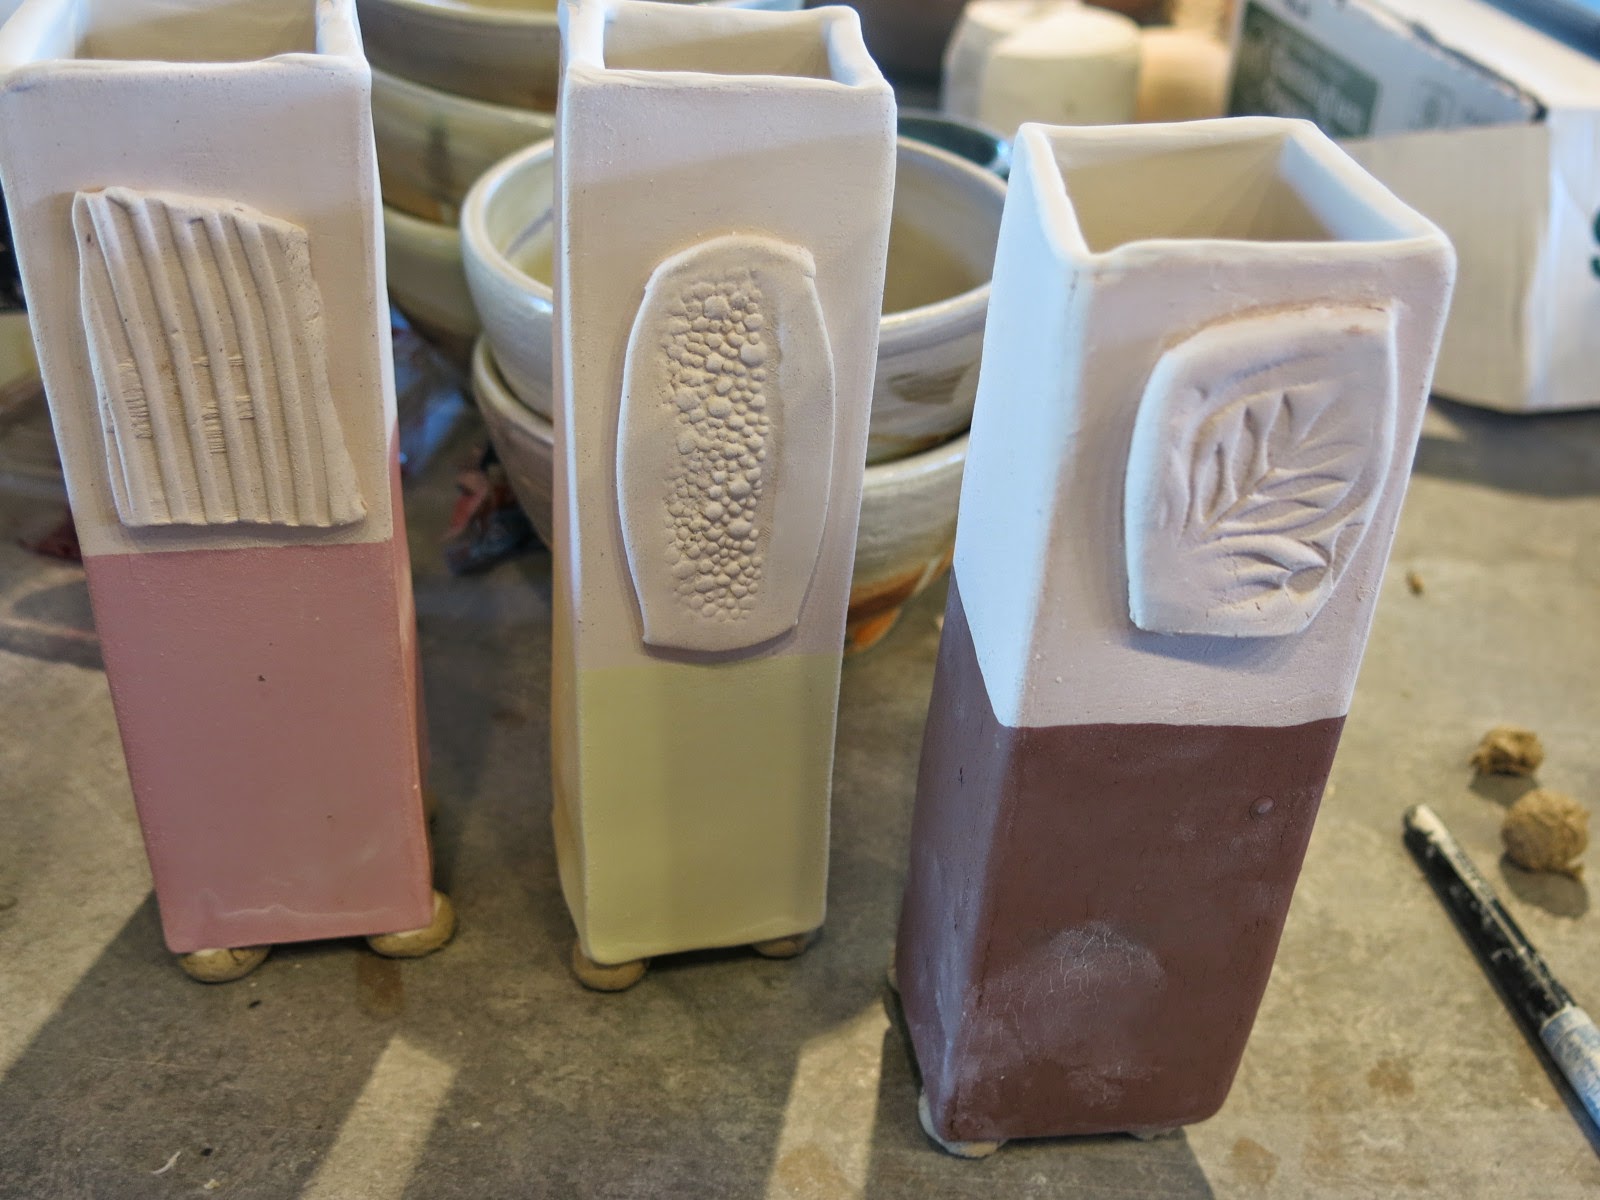
Wednesday is firing day and the kiln takes about 13 hours to fire. This gives me the opportunity to spend a lot of time making things. I have been working on this particular shape for some workshops that I have scheduled for the summer.


Experimenting with different sizes, different handles, and different functions.


These will all end up in the soda kiln.


Waiting for the cones to come down......


Watching the fire after a long and exhausting day is really soothing. I always bring my guitar and try to enjoy the process. I will be unstacking the kiln Thursday evening around 4pm if you would like to visit the studio. Of course I will post pictures here as well.

Thursday, April 10, 2014

700 ml. sealable ceramic bottle

I finally have a sealable bottle! Ha! This project has taken so many hours of brainstorming and effort. It feels really good to finally have a working prototype. It opens and closes nicely. I have given it to both men and women of several different ages and it seems to perform nicely! It holds 700 ml. and adds to the line of very functional kitchen wares for food storage.


Here is a raw clay piece from the mold before I made the last bit of modification. Turned out the width of the lower neck piece was too wide to accommodate the lid in the closed position. So I may rework the mold a bit. But until then it just needs a small addition to the neck (perfect place for a bit of texture!


I finished the shelving in the tower. It is now stained a dark brown. I need to touch up the walls here and there to get it ready for stocking! We open Easter weekend.


I also got out a set of plates yesterday and the results were stunning! Again, this project took soooo many hours but the results were worth it. I will be doing these with the rim in several different colors, blue, green, the turquoise pictured, and maybe grey.


Close-up. 
I love the speckling from the iron oxide! Large plate weighs in at 695 grams which is comparable to a Macy's plate I purchased many years ago. I still need to make a small modification to the little plate.


Friday, April 4, 2014

Multi part molds


Here is something I have been working on for a few months. These projects take a while to develop and my efforts are always worth it no matter where I end up. I gain new information that guides me along the journey. 
It all started when I saw an article in Pottery Illustrated that showed a potter who was slip casting by making lots of molds into one mold. I won't go into to many details as the process will make your head spin, at least it does mine. Basically I simplified this process by breaking down my mold into 4 parts, three parts mold one part hand built......oh yeah, and the handle which makes 5 pieces. 
The basic idea is you can paint colored slip onto the plaster surface than assemble the mold, pour in white stoneware slip, and viola! Out comes a piece with the colored slip inlaid into the the clay body. 
In my design I was inspired by seeds or nuts.

Here is the plaster mold with colored slips painted on.


Mold is assembled.


After the slip has formed the shell I remove the cup from the mold and start with hand building.


I wanted a hand built lip for the cup so they would not all be the same size. Some could have texture, some could be plain, some could be taller than others. The cup is a very personal thing.
After the cup has been built and bisqued I rub iron oxide into the crevices and use my matte bone glaze and fire to ∆6, that's about 2232-2269 f.


Here is the finished cup. I thought it would look nice on my kitchen table amongst the current mess that lies there this morning ( we do try to keep a clean house but with two young boys....)
So I'm extremely pleased with the results! Fun cup to use as well. I only have three made so far but I am ramping up production and they will be available locally soon!
Here is the next stage. A pitcher built in the same process. I learned a few things making the coffee cup and have applied them to the pitcher. The lip and pour spout is very time consuming to make but worth the efforts as It really sets the piece off. I should have a finished pitcher in a couple of weeks.


Still a little clean up to go but it's almost ready for the kiln.

I also got out my first cheese mold. Next week it comes out of the kiln and gets a clear glaze. It's coming along nicely.


Saturday, August 24, 2013

More cups

Making lots of cups for the studio tour. Also making goats feta!